Tampilkan postingan dengan label Pancake. Tampilkan semua postingan

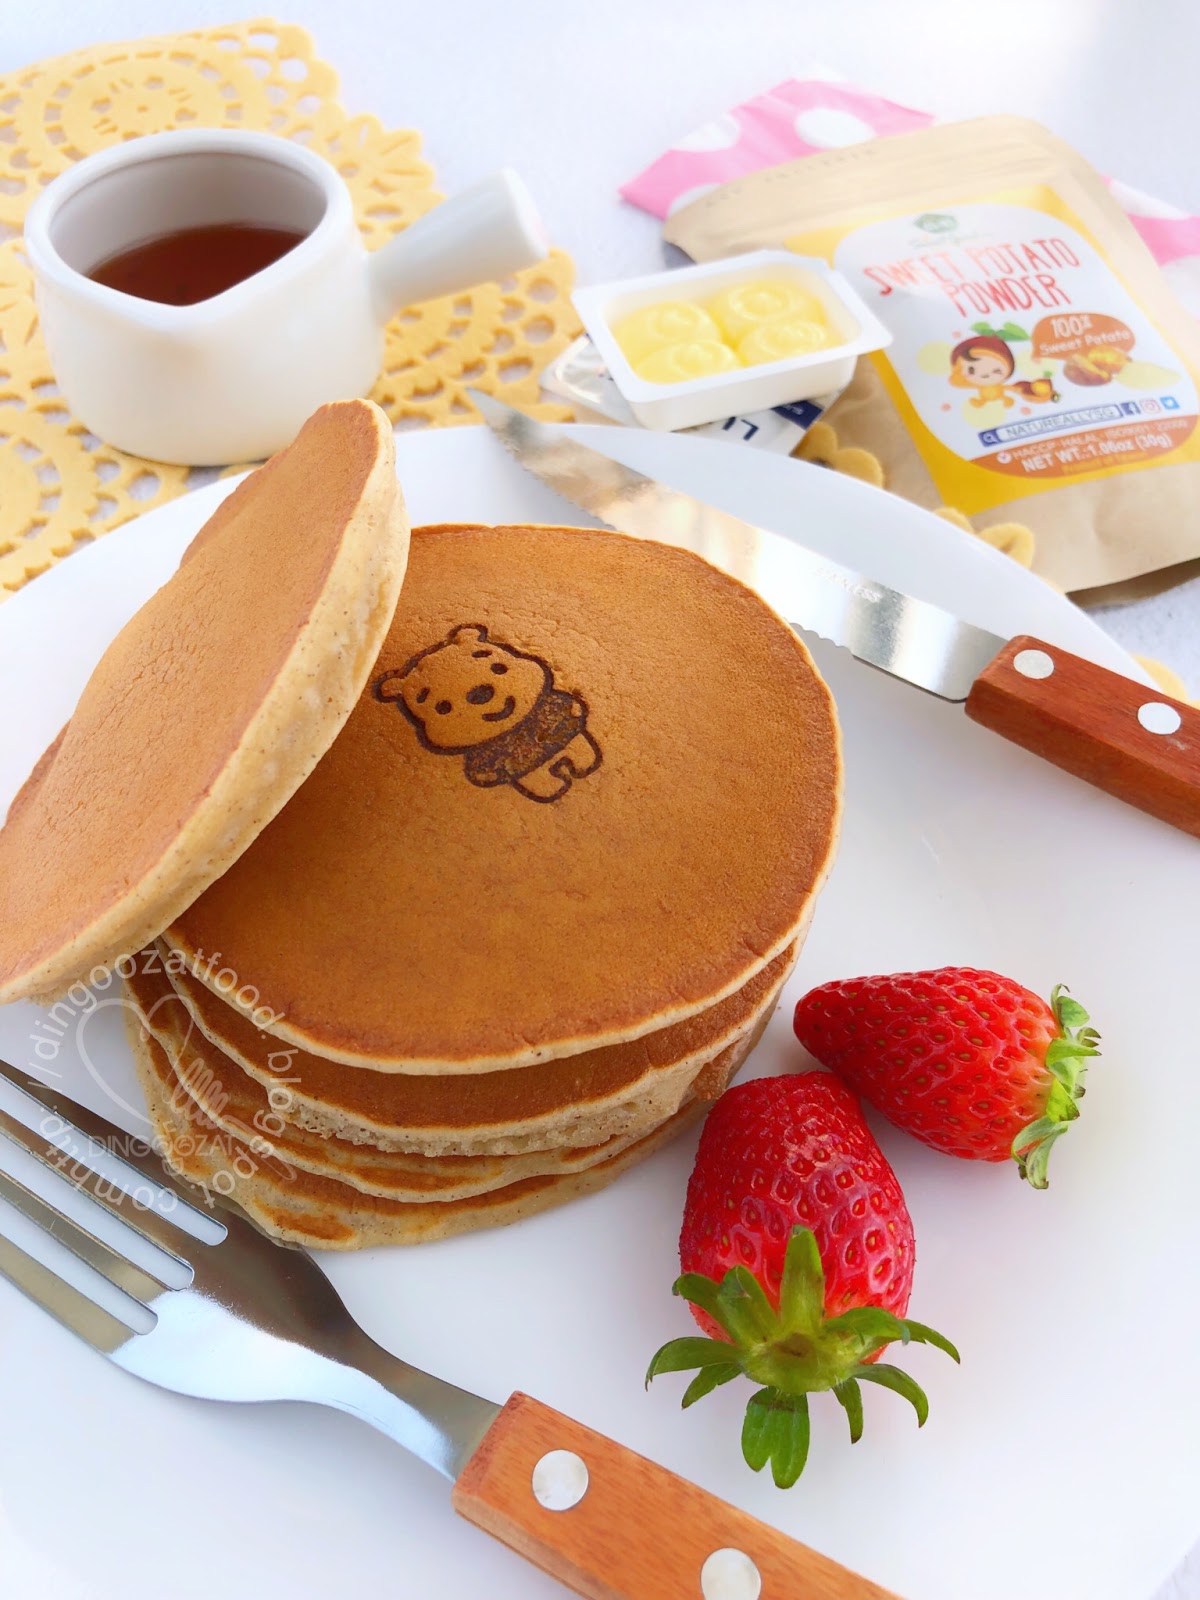
Fluffy & Thick Sweet Potato Pancakes 番薯/地瓜松饼


An excellent source of vitamin A, B6 and dietary fibre, sweet potatoes are a serious nutritional powerhouse. This pancake recipe that I'm sharing here are made with nutrient-packed sweet potatoes. 

I always wanted to try a healthy take on sweet potato breakfast pancakes but I find it too tedious to steam and mash the sweet potatoes in the morning. Until, I have got these sweet potato powder from NATUREALLY


I skipped the steaming and mashing in the morning by using ready-to-use natural sweet potato powder, it's actually 100% instant. Just add warm water, mix into paste and whisk well with the rest of the ingredients. These sweet potato pancakes taste absolutely delicious and they are very easy to make, cook quickly and reheat well. It's a perfect low profile way to sneak some root veggies into the kid's breakfast. ;)


Ingredients: Yield 8 pancakes
中文食谱:可在网页的右边选择中文翻译

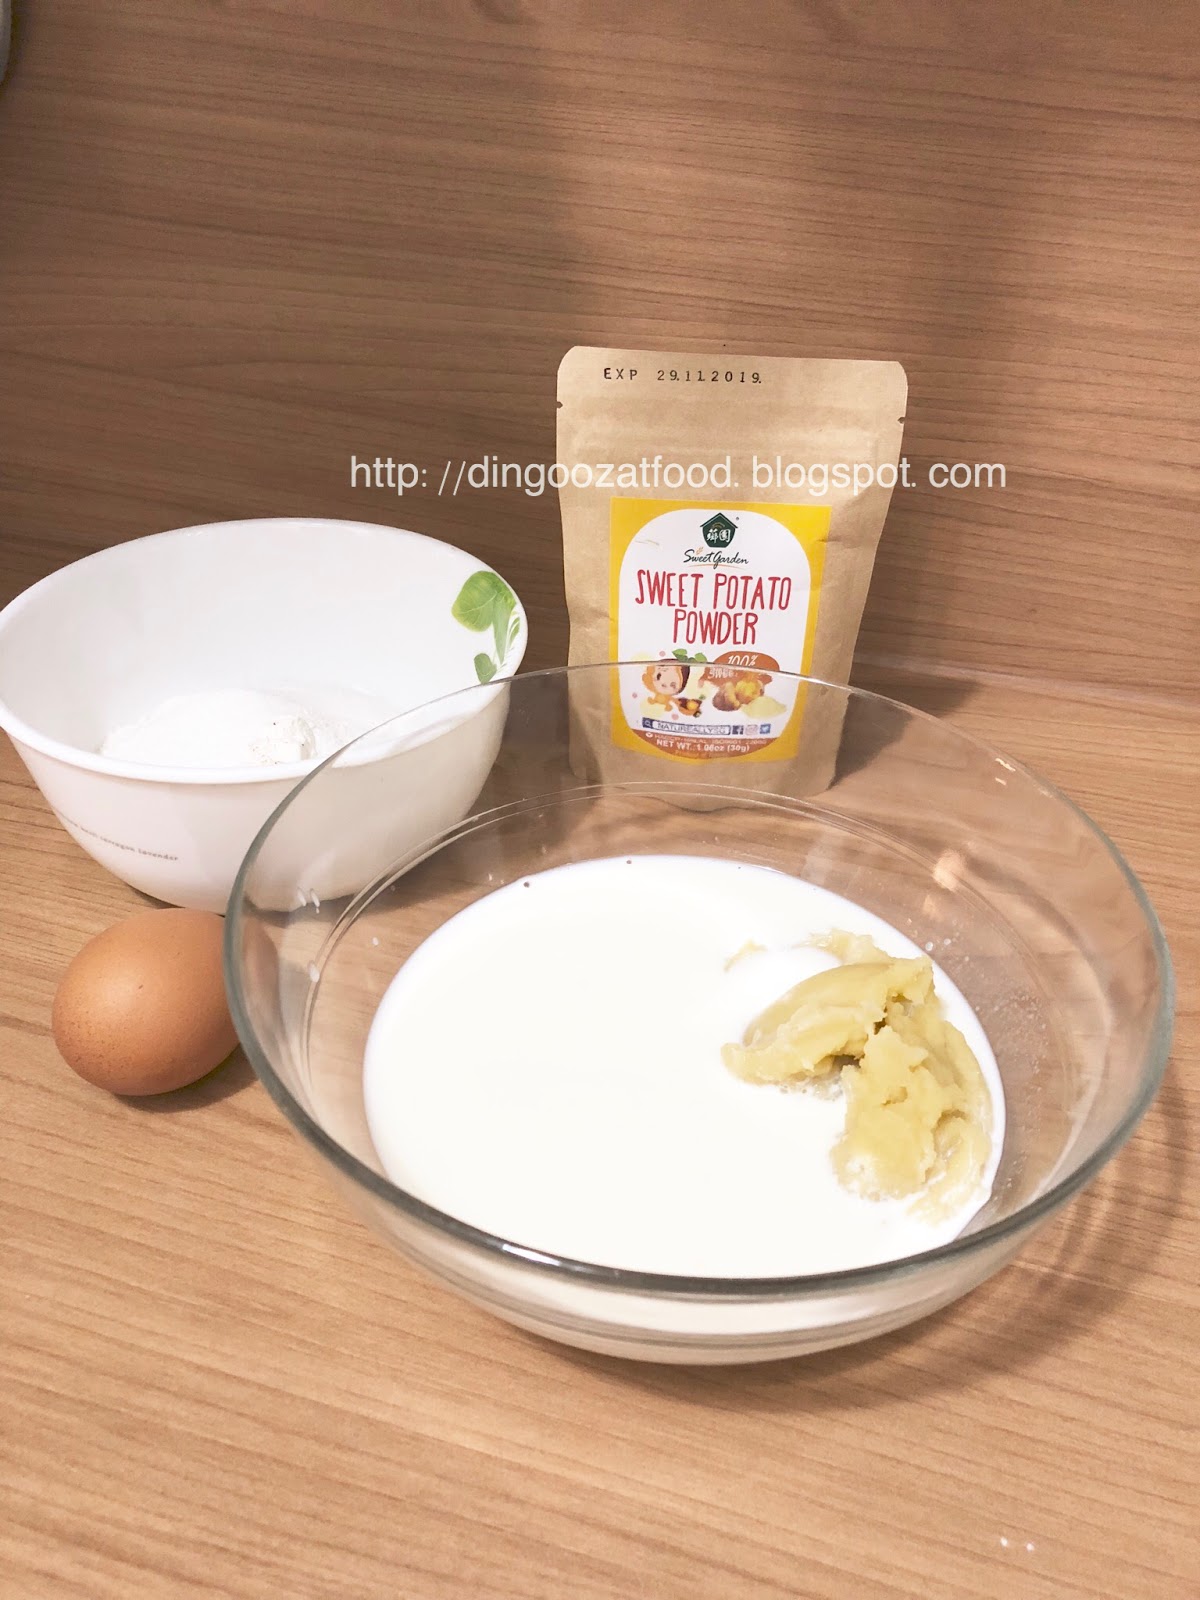
30g NATUREALLY Sweet Potato Powder 


NATUREALLY Sweet Potato Powder can be purchased from Qoo10.
Here's th
LINK: https://www.qoo10.sg/shop/NATUREALLY


80ml Water

215g Fresh Milk

1 Egg

1/2 tsp Vanilla Extract

1/2 tsp Ground Cinnamon 

100g All Purpose Flour

2 tsp Baking Powder

1/4 tsp Salt

2 tbsp Castor Sugar (optional)


If you are sharing this recipe/ blog content, kindly attach the link to this blog instead of screen capture/ copy & paste/ use in your blog. No parts of the content of this blog may be reproduced without prior written permission. All rights reserved. Thank you. 

如果您要分享此食谱/内容,请联系这个部落格的相关链接。敬请不要复制或改篇为自己的食谱。谢谢!


Method:

1. In a bowl, mix sweet potato powder and water to form smooth paste.


2. Add in fresh milk, vanilla extract and egg, mix well. 


3. Sift in the rest of the ingredients, mix well.


4. Lightly grease a non stick pan with a few drop of oil, use kitchen towel to wipe off excess oil. Heat the pan over medium heat. Scoop and pour the batter onto the pan, using approximately 1/4 cup for each pancake. 


5. Flip pancake when starts to bubble. 

6. Brown both sides, repeat for the rest and serve warm.


If you like my recipe, click hereLIKE & follow Miki's Food Archives Facebook page to receive more recipe updates. Don't forget to change the setting to 'SEE FIRST' if you wish to see my post on your Facebook news feed. Enjoy!


~~~~~~~~~~~~~~~~~~


I print the Pooh Bear picture on the pancake using Hot Stamp Tool.
Hot Stamp Tool can be purchased from DGZ SHOP.
Choose standard designs from the templates HERE or make your own customised designs/ logo.


SaveSave
SaveSave

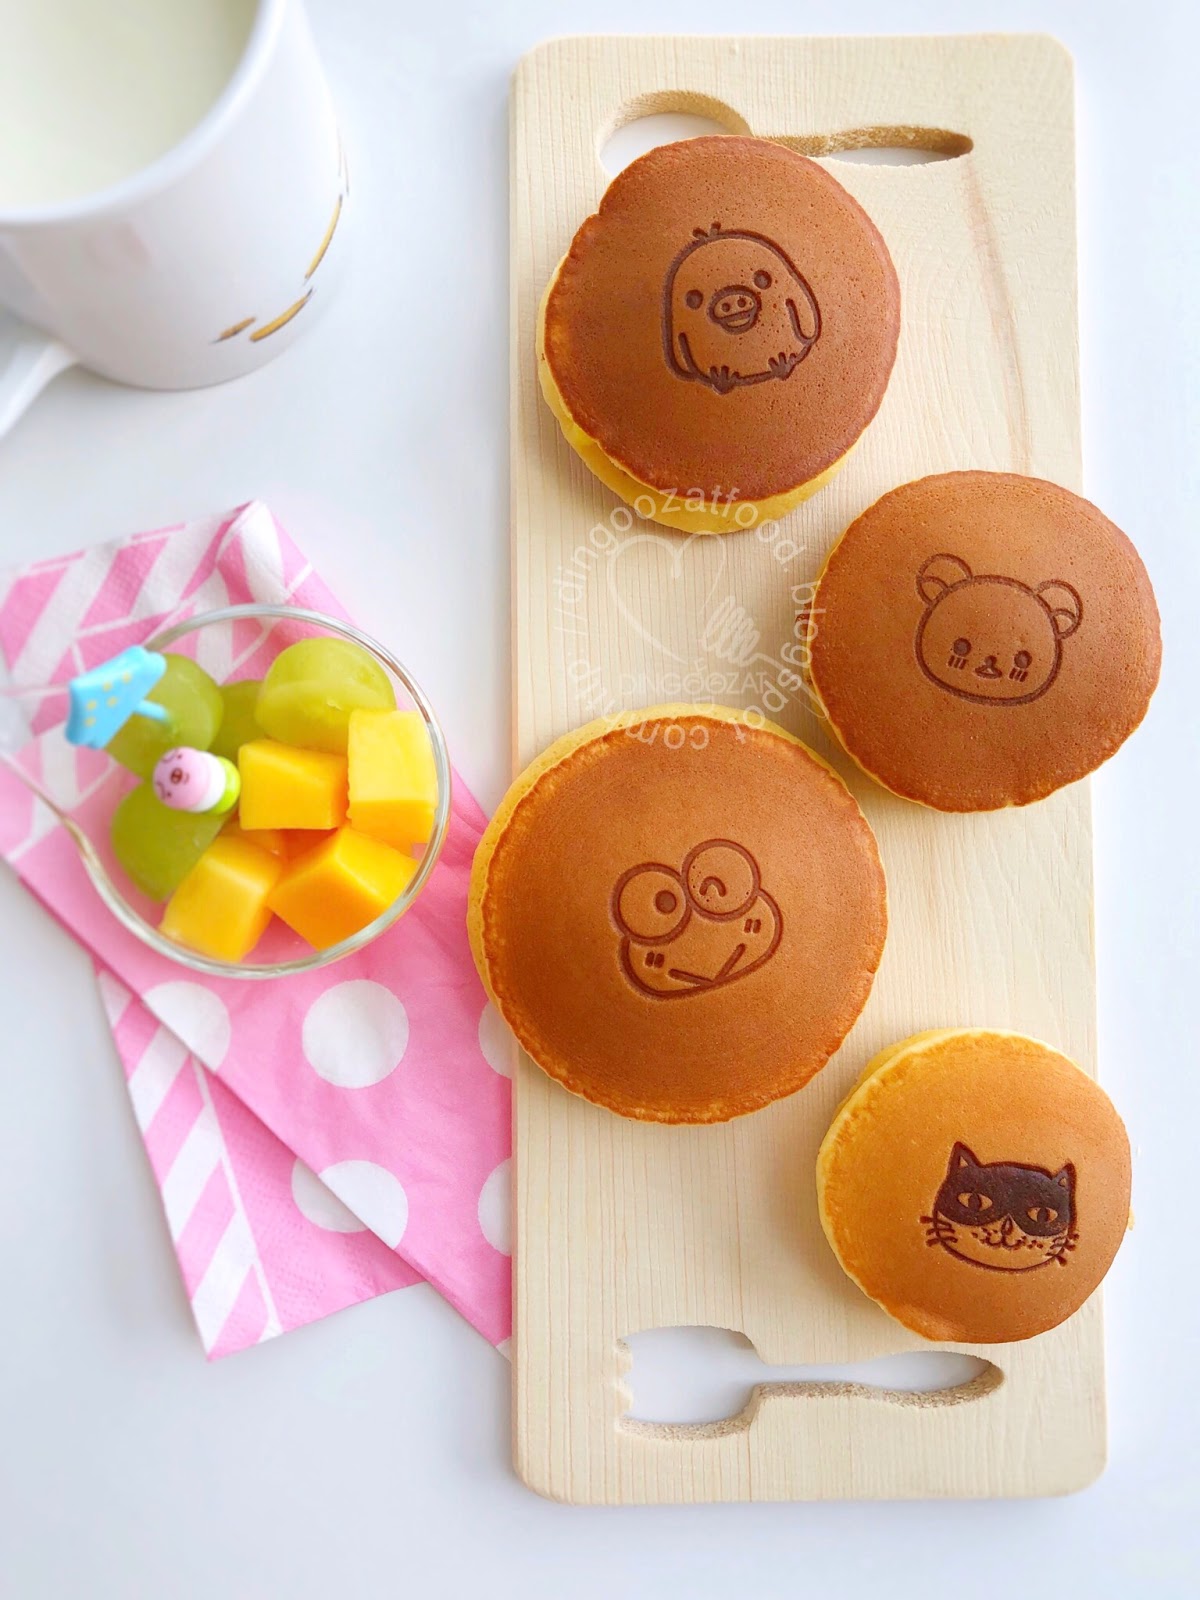
Dorayaki 日式铜锣烧


I have 2 Dorayaki recipes:


Served plain. 

- A quick recipe with simplified ingredients and method that I normally used to make my son's school bento >> Click here for recipe. This recipe yield Dorayaki that is sweeter in taste as I did not want to add fillings for the little boy to eat at school. Served plain.


- Reduced sugar Dorayaki, the texture is more puffy. Less sweet, just nice to add in fillings. This is the recipe I'm sharing in this blog post. Hope you'll like it too.


My son didn't like red bean paste, his Dorayaki always served plain or with custard filling.

Ingredients: Yield 2 servings
材料

1 Egg 鸡蛋 1粒 

25g Castor Sugar 细砂糖 25克

1 heap tsp Honey, about 8g 蜜糖 1小匙满,大概 8克

1 tsp Oil 油 1小匙

30g Milk 牛奶 30克

1/2 tsp Baking Powder 发粉/泡打粉 1/2 小匙

60g Cake Flour 低粉 60克


I used Blue Jacket Unbleached Cake Flour in this recipe. 


I made the cute printing on Dorayaki using hot stamp tool.
Just heat up and print, so easy to use and the printing looks awesome. 


Hot Stamp Tool can be purchased from DGZ SHOP.
Choose standard designs from the templates HERE or make your own customised designs/ logo.


If you are sharing this recipe/ blog content, kindly attach the link to this blog instead of screen capture/ copy & paste/ use in your blog. No parts of the content of this blog may be reproduced without prior written permission. All rights reserved. Thank you. 如果您要分享此食谱/内容,请联系这个部落格的相关链接。敬请不要复制或改篇为自己的食谱。谢谢!


Method: 步骤

1. Beat egg and sugar with a hand whisk till light and pale.
鸡蛋和糖打发至泛白。


2. Add in honey, mix well. 
加入蜜糖,搅拌均匀。

3. Add in oil, mix well. 
加入油,搅拌均匀。

4. Stir in milk, mix well.
加入牛奶,搅拌均匀。


5. Sift in flour and baking powder. Mix well. Do not over mix the mixture. 
低粉和发粉/泡打粉过筛加入。拌均至无颗粒。不要过度搅拌。


6. Cover with cling wrap and let it sit at room temperature for 30 minutes.
用保鲜纸盖好,静置30分钟。


7. Cook in a non stick pan: Heat pan with medium high heat. When the pan is hot, reduce heat. Pour in batter - about 1-2 tbsp batter.
热锅后转低温,倒入少许面糊-大概1-2汤匙。


8. When bubbles appeared, flip over and cook till both sides golden brown. Repeat for the rest. Add fillings as desired. 
面糊出现小孔后就翻另一面,煎至两面上色即可离锅。重复步骤7+8 至用完面糊为止。随意夹入馅料即可享用。这食谱做的铜锣烧不会太甜,可以加入红豆/巧克力/卡斯塔馅。美味!若喜欢我的食谱,可以LIKE和追随我的面书专页,不要错过最新食谱发布。

If you like my recipe, click hereLIKE & Follow Miki's Food Archives Facebook page to receive more recipe updates. Don't forget to change the setting to 'SEE FIRST' if you wish to see my post on your Facebook news feed. Enjoy!


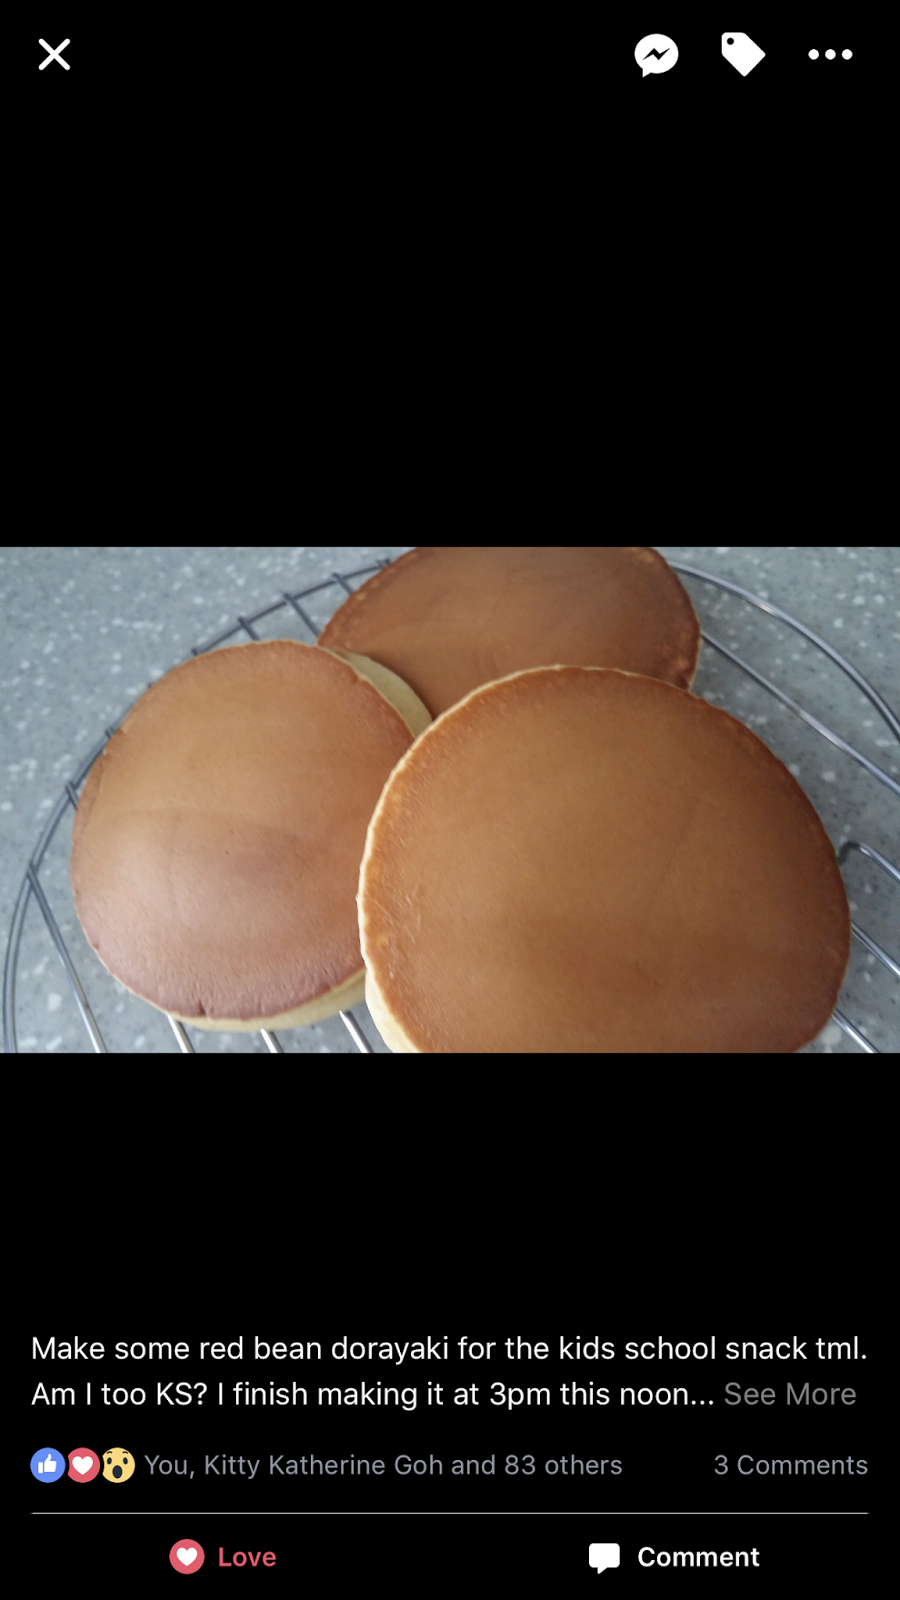
Some feedback from those who have tried this recipe:


By Lum Xiufang

By Lum Xiufang


Shanghai Pancake With Pineapple Jam Filling 上海锅饼 [Tefal Expertise Fry Pan Review]


Shanghai Pancake is different from the normal crunchy pancake that is made from pastry skin. Comparatively, Shanghai Pancake is easier to prepare, no deep frying required. All you need is a trusty good quality fry pan to pan fry the pancake till golden brown, crispy on the outside, soft and sweet in the middle. 

Recently, I have received a Tefal Expertise Fry Pan which is made with an extra thick Titanium hard base and top coat. It has a mineral reinforced layer for anti abrasion and it's innovated with three times the durability for 12 years of usage. The Expertise series cookwares are PFOA free and are made in France. 


With the reinforced layer for extra non-stick, this Tefal Expertise Fry Pan guarantees an unparalleled non-stick performance. Thus, I have decided to try out this recipe using the leftover pineapple jam from my Chinese New Year pineapple tarts baking. I would like to test it out and see if I could get a crispy and nicely brown Shanghai Pancake. This was a challenge and YES! Tefal product never disappoint me. 


I have got this nicely pan fried Shanghai Pancake with the perfect texture that I wanted to achieve.  


The Tefal Expertise Fry Pan comes in the following sizes:


  • Tefal Expertise Fry Pan 20cm 
  • Tefal Expertise Fry Pan 24cm 
  • Tefal Expertise Fry Pan 26cm 
  • Tefal Expertise Fry Pan 28cm (mine is this size)

  • I'm not selling the pan and I'm not earning any commission from this. If you are interested to find out more, feel free to visit Tefal Singapore Website for more details. 


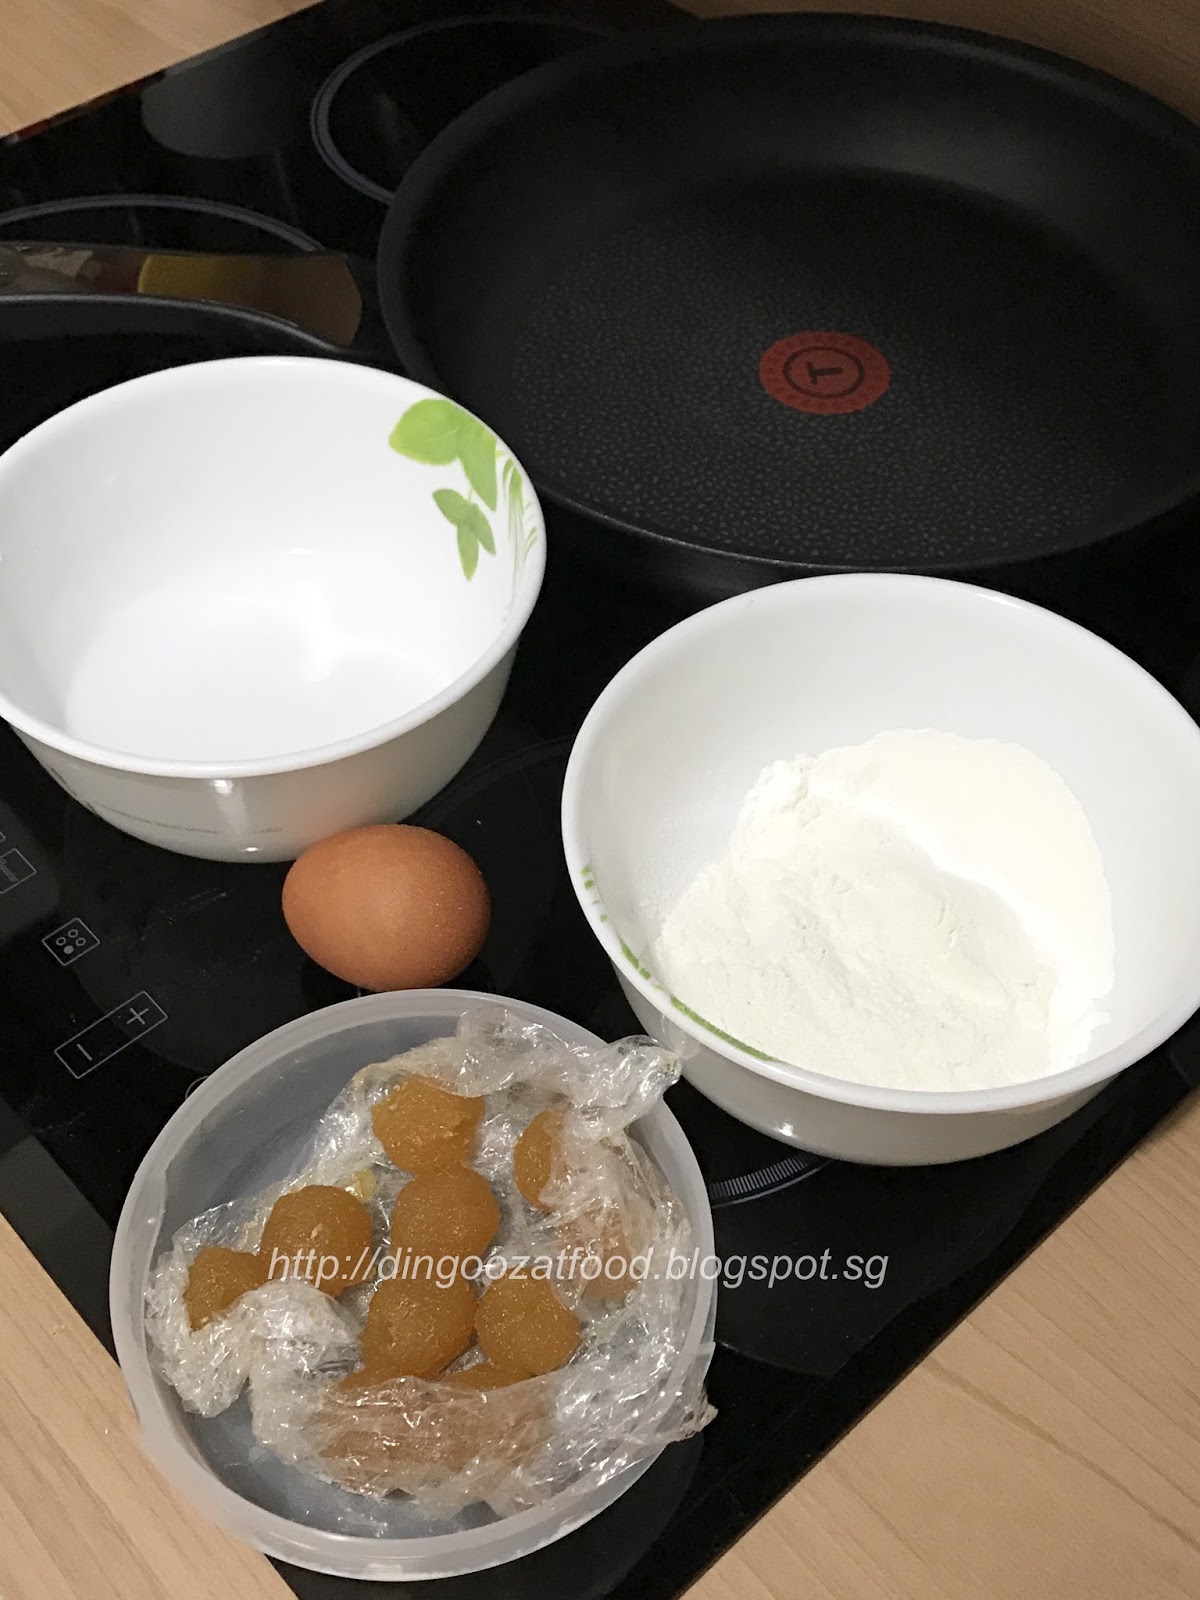
    Ingredients: 材料

    (A)

    45g All Purpose Flour 面粉 45克

    15g Rice Flour 粘米粉 15克

    1/4 tsp Baking Powder 发粉 1/4小匙

    1 tsp Sugar 细砂糖 1小匙

    1/8 tsp Salt 盐 1/8 小匙

    (B)

    1 Egg 鸡蛋 1粒

    90g Water 水 90克

    ~~~~~~~~~~~~~~~~

    100g *Pineapple Jam (chilled) 凤梨馅 100克 ,也可以随意选用豆沙或莲蓉馅

    *Can be replaced with red bean paste or lotus bean paste.


    Cooking Oil 菜油适量


    If you are sharing this recipe/ blog content, kindly attach the link to this blog instead of screen capture/ copy & paste/ use in your blog. No parts of the content of this blog may be reproduced without prior written permission. All rights reserved. Thank you. 

    如果您要分享此食谱/内容,请联系这个部落格的相关链接。敬请不要复制或改篇为自己的食谱。谢谢!


    Method: 步骤

    1. Roll out the pineapple jam as shown in the picture below.
    把凤梨馅压平,备用。


    2. Sift (A) into a bowl. Stir in (B), mix well and strain through a sieve.
    (A)过筛,加入(B)搅拌均匀,过筛。


    3. Use a kitchen towel, wipe the Tefal Expertise Fry Pan with some oil. 
    把不黏底的平底锅用厨房纸巾涂少许油。


    4. Heat the pan. 
    热锅。


    The signature Thermo-Spot has now comes with a new design that turns red completely once the pan is heated to the prefect temperature. It is now easier to see clearly the exact moment to start frying and searing. You may click here to see how does the Thermo-Spot works. It's pretty interesting and it helps a lot especially when I have to multitask cooking 2 dishes + baking at the same time (my 7yo can help me watch the Thermo-Spot :P ).


    5. Pour some batter into the pan, swirl to form a thin pancake. 
    倒入适量的面糊,稍微把锅摇动,形成薄圆形的锅饼皮。


    6. Once it is set, remove from pan and place the pineapple jam on the pancake.
    然后把锅饼皮放在盘上,放入馅料。


    7. Brush the sides with some batter, fold into half and seal. 
    对折,用少许面糊把边黏好。


    8. Heat oil in the pan, pan fry the pancake until golden brown on both sides. Dish out and drain the excess oil. Cut into pieces and serve right away.
    烧热适量的油,把锅饼煎至金黄色和香脆,取出沥油,切片,即可趁热享用。若喜欢我的食谱,可以LIKE和追随我的面书专页,不要错过最新食谱发布。

    If you like my recipe, click hereLIKE & follow Miki's Food Archives Facebook page to receive more recipe updates. Don't forget to change the setting to 'SEE FIRST' if you wish to see my post on your Facebook news feed. Enjoy!


    Some feedback from those who have tried this recipe:


    By Cleo Jinyan Liu