Tampilkan postingan dengan label Recipes using BlueJacketFlour. Tampilkan semua postingan

Wholewheat Walnut & Cranberry Oatmeal Cookies 全麦核桃蔓越莓燕麦饼干


Wholewheat Walnut & Cranberry Oatmeal Cookies 全麦核桃蔓越莓燕麦饼干 - This wholesome cookie recipe was adapted from the best oatmeal cookies recipe that I have been using for years. A tried & tested recipe that yield crunchy, addictive and incredibly tasty  cookies.


中文食谱:可在网页的右边点击 Translate 选择中文翻译

Ingredients: 

(A)

115g Unsalted Butter (Softened)

80g Brown Sugar

40g Castor Sugar 


(B)

1 Egg

1 tsp Vanilla Extract


(C) Mix together.

120g Wholewheat/ Wholemeal Flour 


50g Rolled Oats


1/2 tsp Baking Powder

1/4 tsp Baking Soda

1/4 tsp Salt


(D) These are optional, just add whatever nuts or dried fruits that you like. If you like plain cookies, skip these.

50g Dried Cranberries

40g Walnuts (chopped)


My 8yo son joined me in the making and he insisted to add some M&M in it. :P


If you are sharing this recipe/ blog content, kindly attach the link to this blog instead of screen capture/ copy & paste/ use in your blog. No parts of the content of this blog may be reproduced without prior written permission. All rights reserved. Thank you. 

如果您要分享此食谱/内容,请联系这个部落格的相关链接。敬请不要复制或改篇为自己的食谱。谢谢!


Method:

1. Preheat oven 170'C.

2. In a mixer, beat together (A) until smooth.


3. Gradually add in (B). 

4. Scrape and gradually mix in (C) mixture in low speed. 


5. Mix until everything is thoroughly incorporated. Scrape the bottom and the sides of the bowl, and mix briefly.

6. Stir in (D). 


7. Scoop the dough with a table spoon, place onto the lined baking tray. Leave some space in between the cookies. Bake for 15-18 minutes. Remove cookies from the oven. Let it sit on the baking tray for few minutes. Transfer to a cooling rack to cool. When it's completely cooled, store in airtight container and enjoy! 

If you like my recipe, click hereLIKE & FOLLOW Miki's Food Archives Facebook page to receive more recipe updates. Don't forget to change the setting to 'SEE FIRST' if you wish to see my post on your Facebook news feed. Enjoy!
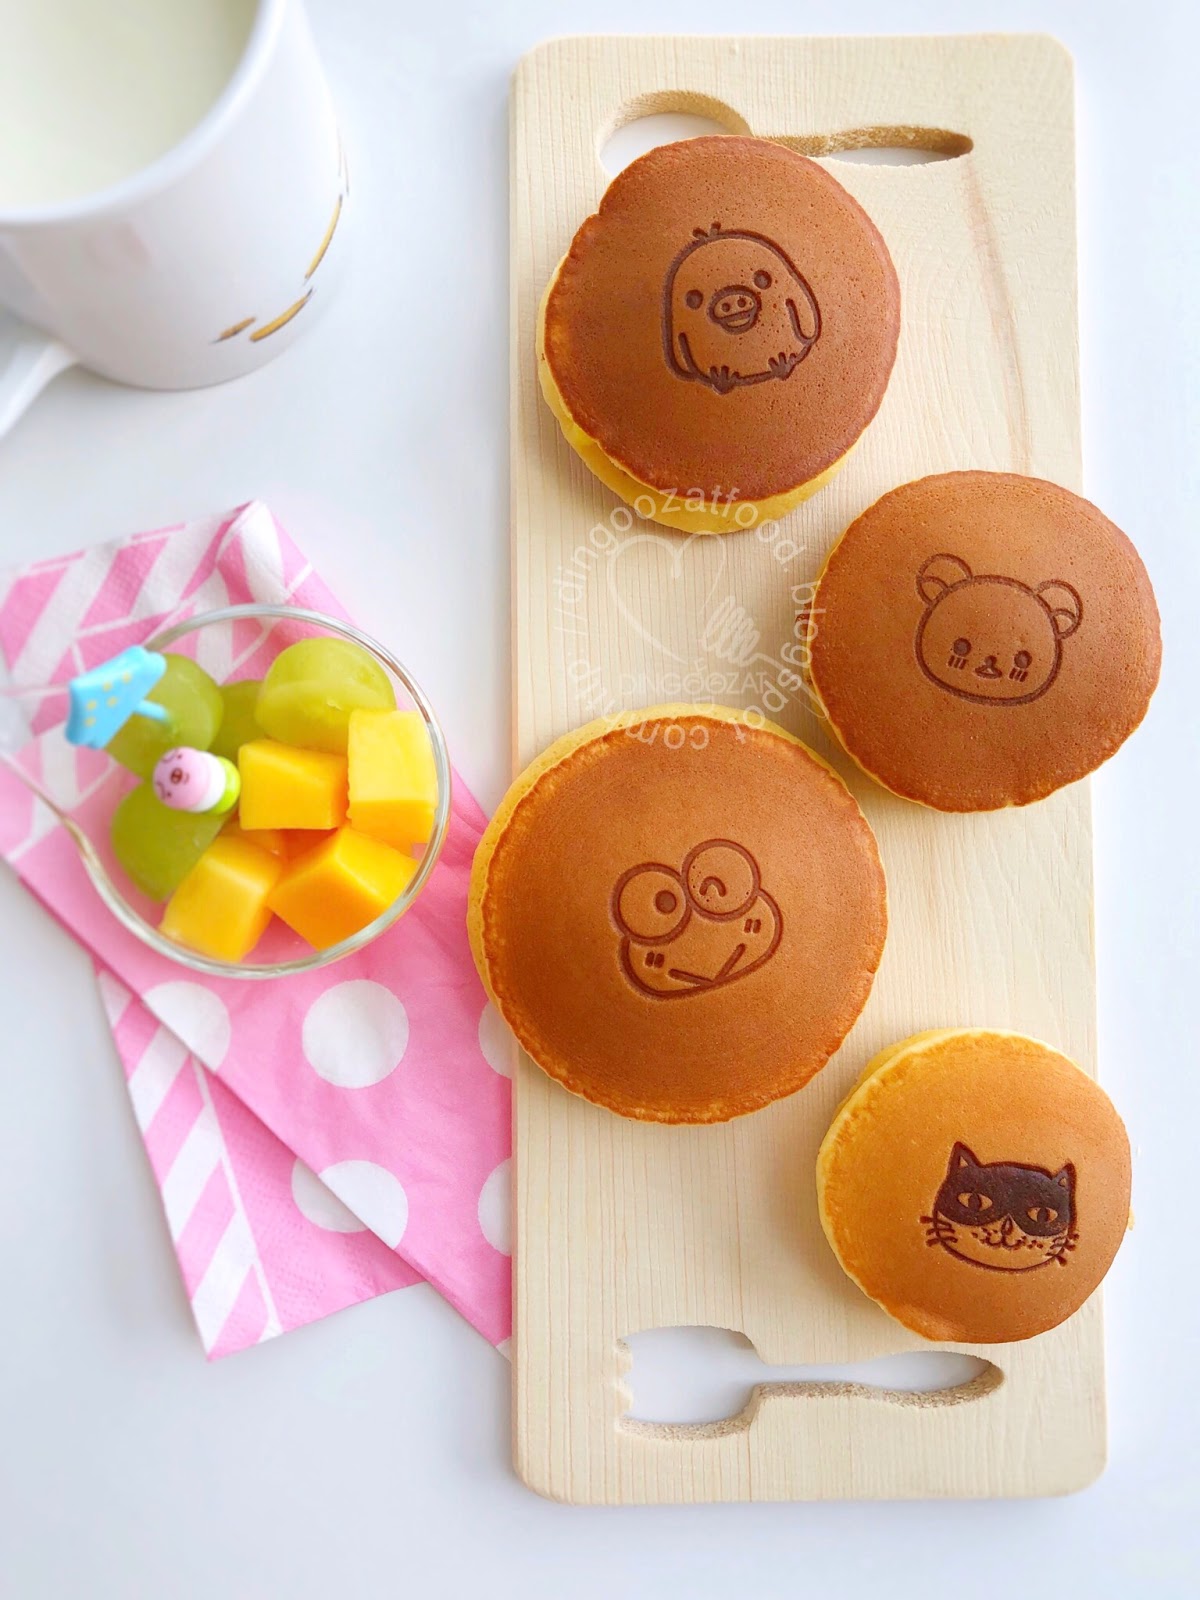


Dorayaki 日式铜锣烧


I have 2 Dorayaki recipes:


Served plain. 

- A quick recipe with simplified ingredients and method that I normally used to make my son's school bento >> Click here for recipe. This recipe yield Dorayaki that is sweeter in taste as I did not want to add fillings for the little boy to eat at school. Served plain.


- Reduced sugar Dorayaki, the texture is more puffy. Less sweet, just nice to add in fillings. This is the recipe I'm sharing in this blog post. Hope you'll like it too.


My son didn't like red bean paste, his Dorayaki always served plain or with custard filling.

Ingredients: Yield 2 servings
材料

1 Egg 鸡蛋 1粒 

25g Castor Sugar 细砂糖 25克

1 heap tsp Honey, about 8g 蜜糖 1小匙满,大概 8克

1 tsp Oil 油 1小匙

30g Milk 牛奶 30克

1/2 tsp Baking Powder 发粉/泡打粉 1/2 小匙

60g Cake Flour 低粉 60克


I used Blue Jacket Unbleached Cake Flour in this recipe. 


I made the cute printing on Dorayaki using hot stamp tool.
Just heat up and print, so easy to use and the printing looks awesome. 


Hot Stamp Tool can be purchased from DGZ SHOP.
Choose standard designs from the templates HERE or make your own customised designs/ logo.


If you are sharing this recipe/ blog content, kindly attach the link to this blog instead of screen capture/ copy & paste/ use in your blog. No parts of the content of this blog may be reproduced without prior written permission. All rights reserved. Thank you. 如果您要分享此食谱/内容,请联系这个部落格的相关链接。敬请不要复制或改篇为自己的食谱。谢谢!


Method: 步骤

1. Beat egg and sugar with a hand whisk till light and pale.
鸡蛋和糖打发至泛白。


2. Add in honey, mix well. 
加入蜜糖,搅拌均匀。

3. Add in oil, mix well. 
加入油,搅拌均匀。

4. Stir in milk, mix well.
加入牛奶,搅拌均匀。


5. Sift in flour and baking powder. Mix well. Do not over mix the mixture. 
低粉和发粉/泡打粉过筛加入。拌均至无颗粒。不要过度搅拌。


6. Cover with cling wrap and let it sit at room temperature for 30 minutes.
用保鲜纸盖好,静置30分钟。


7. Cook in a non stick pan: Heat pan with medium high heat. When the pan is hot, reduce heat. Pour in batter - about 1-2 tbsp batter.
热锅后转低温,倒入少许面糊-大概1-2汤匙。


8. When bubbles appeared, flip over and cook till both sides golden brown. Repeat for the rest. Add fillings as desired. 
面糊出现小孔后就翻另一面,煎至两面上色即可离锅。重复步骤7+8 至用完面糊为止。随意夹入馅料即可享用。这食谱做的铜锣烧不会太甜,可以加入红豆/巧克力/卡斯塔馅。美味!若喜欢我的食谱,可以LIKE和追随我的面书专页,不要错过最新食谱发布。

If you like my recipe, click hereLIKE & Follow Miki's Food Archives Facebook page to receive more recipe updates. Don't forget to change the setting to 'SEE FIRST' if you wish to see my post on your Facebook news feed. Enjoy!


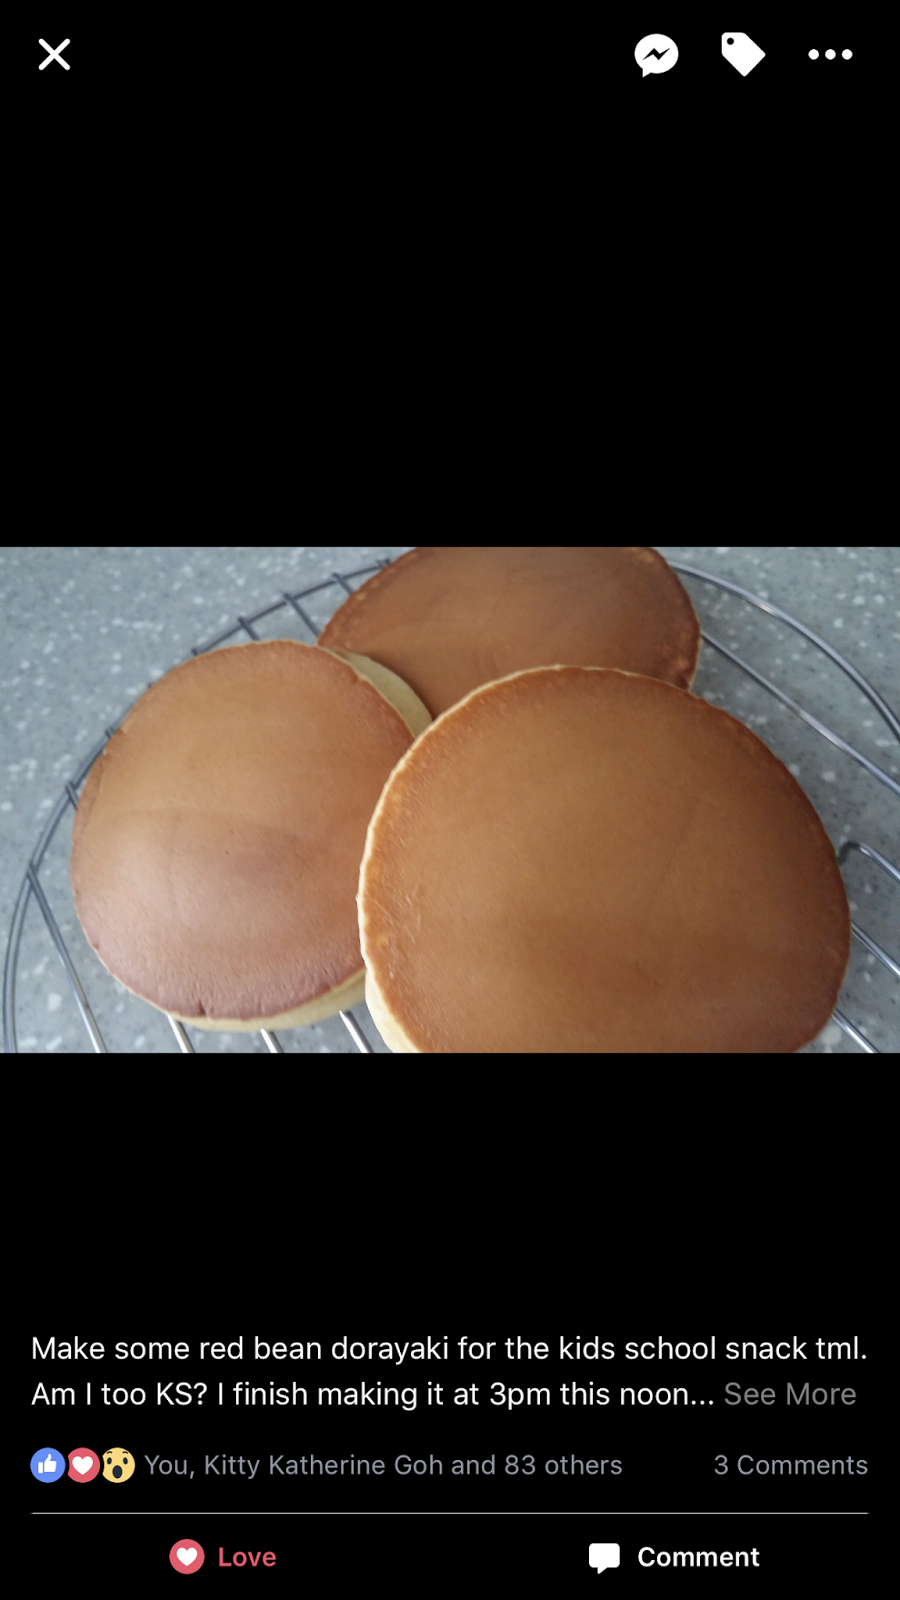
Some feedback from those who have tried this recipe:


By Lum Xiufang

By Lum Xiufang


Purple Sweet Potato Soft Bread 紫薯软面包 (直接法)


Pillowy soft and fragrant Purple Sweet Potato Bread using straight dough method. It has a cottony and springy texture that you can eat it plain without adding any fillings or toppings on it. 


The first bake on October 26, 2015.

Added whipping cream and purple sweet potatoes, this recipe yield tender and fluffy bread that will stay soft for days. 

采用直接法,加了紫薯和动物性奶油做出来的面包不用中种也非常松软。紫薯的天然颜色和甜味,这面包又香又软又美,大人小朋友都会喜欢。


Ingredients:

(A)

260g Bread Flour 高筋面粉 260克

3/4 tsp Instant Yeast 即溶酵母 3/4 小匙

40g Castor Sugar 细砂糖 40克

1/4 tsp Salt 盐 1/4 小匙


(B)

120g Purple Sweet Potato Puree (steamed & mashed) 紫薯泥 120克 

30g Whipping Cream 动物性奶油 30克

110g Full Cream Fresh Milk  全脂牛奶 110克

20g Egg (lightly beaten) 鸡蛋 20克 , 打散


(C)

20g Unsalted Butter (softened) 无盐牛油 20克,软化


I use Blue Jacket Unbleached Bread Flour in this recipe.


If you are sharing this recipe, kindly attach the link to this blog instead of screen capture/ copy & paste/ use in your blog and claimed as your recipe! Thank you. 

如果您要分享此食谱,请联系这个部落格的相关链接。敬请不要复制或改篇为自己的食谱。谢谢!  


Method: 步骤

1. In a stand mixer, mix (A) using low speed.
把(A)搅拌均匀。

2. In a bowl, mix (B). Add (B) into (A). Knead to form a dough.
在另一个碗,把(B)混合。把(B)加入(A)揉成面团。

3. Gradually knead in (C). 
分次加入(C)。


4. Continue to knead until the dough passes the windowpane test. If you're unsure what is windowpane test, watch this video:
继续揉至面筋扩展,表面光滑,有弹性,能拉出薄膜。可以参考以下视频。


5. Transfer the dough to a lightly greased bowl. Cover with cling wrap, let it proof for 60 minutes or doubled in size.
把面团放进已涂油的碗里,用保鲜纸盖好,发酵60分钟或双倍大。

before 1st proof


after 1st proof


6. Transfer the dough onto a lightly floured worktop. Roll out the dough.
把面团擀平。


7. Roll up the dough.
卷起。


8. Transfer the dough to a baking tin. If you're not using non-stick baking tin, grease your baking tin.
放进已涂油的烤盘。


9. Cover with cling wrap and let it proof for 60 minutes or doubled in size.
盖上保鲜纸,发酵60分钟或双倍大。


10. Bake in a preheated oven 170'C for 20 minutes (rack 1) , transfer to rack 2, bake for another 5 minutes. 
放进已预热的烤箱,以170度烘烤20分钟(烤箱的最底层),然后放上一层,继续烘烤5分钟。


11. Remove the bread from the oven, remove it from the baking tin and cool it on a rack.
把面包脱模,放在架子上待凉后即可享用。

每个烤箱的温度不同,烘烤温度和时间需自行调整。若喜欢我的食谱,可以LIKE和追随我的面书专页,不要错过最新食谱发布。

If you like my recipe, click hereLIKE & FOLLOW my facebook page to receive more recipe updates. Don't forget to change the setting to 'SEE FIRST' if you wish to see my post on your Facebook news feed. Enjoy!


Some feedback from those who have tried this recipe:


By Cherry Le Neel

By Cherry Le Neel
By Fanny Chan


Low Lai Kuan
Feedback from Rachel Hoy

By Rosalind Ang

By Rosalind Ang

By Mavis Hoi

By Mavis Hoi, made using full cream milk.

By Yvonne Ng

By Yvonne Ng

Feedback from Yvonne Ng

By Yvonne Ng

By Yvonne Ng

By Evelyn Ng, made using pumpkin.

By Dora Wee